How to get webview in React Native app?
WebView is the browser engine that developers embed in an app. By integrating webview in an app, you can get the display of a webpage in just a click. Starting from a complete web app, you can add HTML elements using Webview. Curious to learn how React Native developers build a webview interface with only 10 to 12 lines of coding? Follow the guided steps mentioned in this blog.
Prior knowledge needed
- Get all the software installed in your system. We will be using React Native CLI for this project. So, if you are planning to use the Expo CLI, this blog will not be useful. Check the article and go to the React Native CLI section to get the guided steps on how to install Node.js, virtual device, android studio, and other software required.
- Also, the current project is about adding the webView features and not creating a separate app. So, for this, you have to learn how to build a basic React Native app. In case you are confused with the steps, you can check the article to have a detailed insight into the process.
Now comes the most crucial part of the project installing the third-party package.
Third-party Library: react-native-webview
React Native third-party npm package is the blessing that has made the life of a developer as well as the app user much simpler. With these third-party packages, developers can reduce the load time and the time required to debug the app. They can install only the package needed for their specific projects. On the other hand, users don't have to compromise on the important apps stored on their devices in terms of storage.
Here, you have to install the react-native webview for the native component: WebView. It is the substitute that you can use in place of built-in WebView.
For installing the package, you have to add the below-given line in the command prompt from your project folder.
$ npm install --save react-native-webview
As we are done with discussing the theoretical part, let's have a look at the codelines for this simple feature in your react native app. Open the GitHub repository to access the entire project and click on the app.js folder to get the entire codebase.
Diving into the codebase: App.js folder
Importing React Native components
1
2
3
import {StyleSheet, Text, View} from 'react-native';
import React from 'react';
import {WebView} from 'react-native-webview';
This is a javascript import statement. It imports the StyleSheet, Text, and View components from the react-native library. The react-native library is a collection of code that I have used to build the app. Also importing these components so that I can use them in the app. As you notice, I have also imported WebView from the react-native-webview.
Adding the uri source for the WebView
1
2
3
4
5
6
7
8
9
const App = () => {
  return (
    <WebView
      source={{
        uri: 'https://www.4waytechnologies.com/blog/how-to-build-react-native-android-apk-files-using-expo-cli',
      }}
    />
  );
};
Firstly, it specifies a function App. Then it renders a component WebView. It's used to display web pages inside an app. The website provided under the uri is the webpage that you want to show to your user. You can replace this website with any other web pages you want to display on your app screen.
Adding StyleSheet and exporting App
export default App;
const styles = StyleSheet.create({});
The purpose of using export default App is to export the App component. It means that using the import statement, you can use in other files. Since I am focused on displaying the different Webview in the app, I will not emphasize the use of StyleSheet in this blog. However, if you want, you can style different objects using the syntax: const styles = StyleSheet.create({});
Navigating through the app interface
Here, we have to execute two to three steps and your app will start running on the emulator.
- Run the command npm install for accessing the dependencies.
- Secondly pass the command:
npx react-native run-androidfor activating the emulator. - As your emulator starts running, you will see the output as given in image 1.
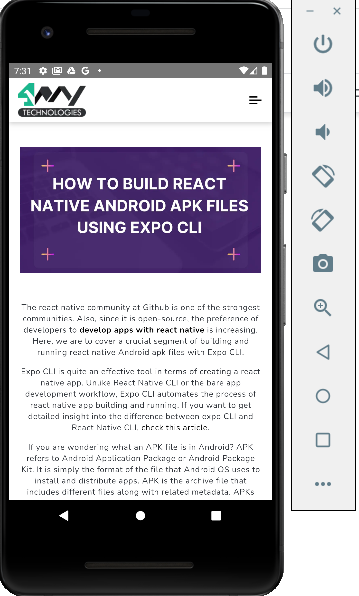
Image 1
You can change the display of the emulator and get other WebViews by replacing the website URL in your code editor (highlighted in image 2). As I have changed the website URL, the emulator displays (as shown in image 3).
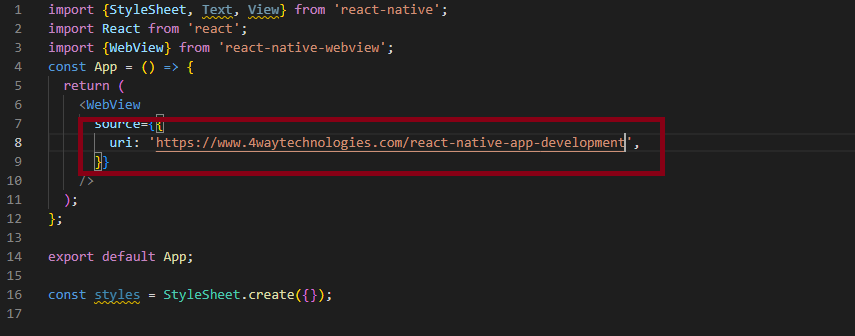
Image 2
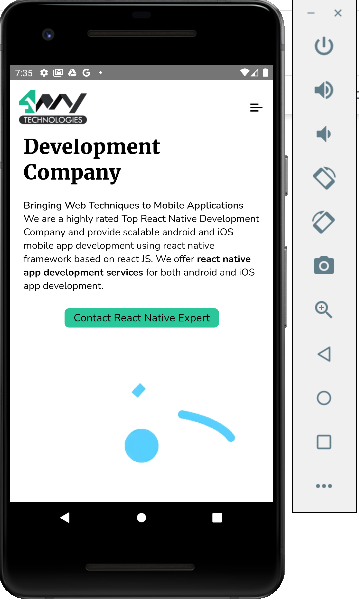
Image 3
This way, you can play with different WebView in your React Native app.
Summary
Getting the display of a website is possible with the React Native framework. What you need to do is to get the third-party package: react-native-webview and use it correctly in your codebase.

A science graduate who has a keen interest to lean about new technologies and research area. With an experience in the field of data analytics and content writing, she aims to share her knowledge among passionate tech readers.

