A complete guide for developers to publish React Native apps on Google Play Store
If you have built an app for your target audience, it is necessary to publish the same in a specific store so that your users can access and download the app from the Store. Here, in this blog, we will discuss the steps of publishing a React Native app on the Play Store.
Note that we will be working on publishing our already-built React Native app on the Google Play Store. We will cover the segment of ‘How to publish React Native apps on the Apple Store’ in another blog.
Considering the AAB Publishing format
Since August 2021, it has become the mandatory criterion to consider the AAB (Android App Bundles) as the standard publishing first while launching your app on the Google Play store. So, you need to abide by these guidelines. Using this publishing format, you can use the Play Feature Delivery. This way, you can easily embed feature modules in your project. Such modules have resources and features that can be added depending on the specified app conditions.
In the case of publishing Gaming apps, if you publish it with AAB format, you can get the benefits of Play Asset Delivery. As the term ‘Asset Delivery’ suggests, it is a solution supported by Google Play, which delivers relevant game assets; thereby offering high performance and flexible delivery.
Prerequisite parameters for the current project
As the blog is about publishing apps on the Android Store, you must have your app already built. Since, here, we are working with React Native framework, you have to build a React Native app. Check the linked tutorial blog to get a process of React Native app development services. Also, you have to set up the environment in your development system to work with React Native. Visit the tutorial blog if you have no idea about this setup process.
Prime steps to publish app on the Android Store
Given that the main aim of publishing apps is to make the app accessible to users, you have to go through these two following steps.
Creating a release version of the app
Any newly built projects have two types of build variants namely release variant and debug variant. Here, you need to create the release variant of your app and prepare it for release.
You might be confused about how to prepare the app or create the app’s release version. Don't worry. Follow the steps as I explain them to you.
Creating an upload key
- For this, go to the path
C:\Program Files\Java\jdkx.x.x_x\binfrom your Local C drive and copy the path. - Run the Command prompt as administrator and then type
cdC:\Program Files\Java\jdkx.x.x_x\bin.This will allow you to enter this path. - Now, pass the command
keytool -genkeypair -v -storetype PKCS12 -keystore my-upload-key.keystore -alias my-key-alias -keyalg RSA -keysize 2048 -validity 10000. - After running this command, you will be asked to provide your Keystore password. Confirm the password by re-entering the same password.
- Then, it will ask you to provide your name, Organisational unit, Organisation name, City or Locality, State or Province, and two-letter country code.

Image 1
6. Giving all the information as asked, it will generate the key. Here, my upload key will be accessible for 10,000 days.
You can find the key stored as a file in your local drive in the name of my-upload-key.keystore. Refer to the red highlighted part of image 2.
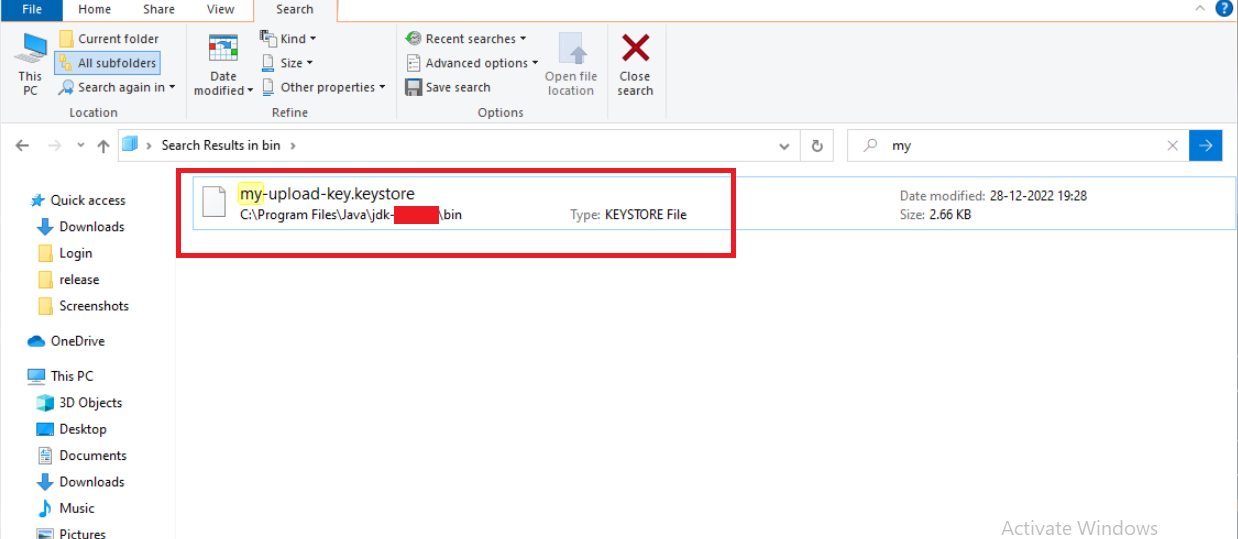
Image 2
Also, set the version information of your app. When you publish a new app, it is version 1. As you make changes in the app and update the same in the Google Play Store, the app’s version will increase. You can learn the steps and utilities of versioning apps from the linked site.
Ensure that your Keystore is safely stored. However, if it is lost, follow the guidelines mentioned on the attached site.
Setting up the variable in the app’s Gradle file
- Copy the file my-upload-key.keystore from your local drive and paste the entire Keystore file into your project folder. Note that the path of storing the Keystore file is
android/app. - Now add the below-mentioned codeline under the app’s
android/gradle.properties.
MYAPP_UPLOAD_STORE_FILE=my-upload-key.keystore
MYAPP_UPLOAD_KEY_ALIAS=my-key-alias
MYAPP_UPLOAD_STORE_PASSWORD=*****
MYAPP_UPLOAD_KEY_PASSWORD=*****
3. The ***** in the above syntax is where you have to add your Keystore password, key password, and alias. As it is confidential, I have not mentioned it in this blog. These are the Global variables and you have to use them in the Gradle configuration step.
Final step of the configuration
Here, you have to set up the release variant of your project by signing it with the upload key.
- You need to open the app and go to the directory: android/app/build.gradle from your code editor.
- Add the below-mentioned lines to the android/app/build.gradle.
1
2
3
4
5
6
7
8
9
10
11
12
13
14
15
16
17
18
19
20
21
22
...
android {
    ...
    defaultConfig { ... }
    signingConfigs {
        release {
            if (project.hasProperty('MYAPP_UPLOAD_STORE_FILE')) {
                storeFile file(MYAPP_UPLOAD_STORE_FILE)
                storePassword MYAPP_UPLOAD_STORE_PASSWORD
                keyAlias MYAPP_UPLOAD_KEY_ALIAS
                keyPassword MYAPP_UPLOAD_KEY_PASSWORD
            }
        }
    }
    buildTypes {
        release {
            ...
            signingConfig signingConfigs.release
        }
    }
}
...
This will take you forward toward the forward step of
Creating the AAB file for your app
As you are already familiar with the fact that we need to work on the AAB format rather than the APK format, we have to create the AAB variant of our app.
- Open a terminal from your project and run cd android.
- Then run ./gradlew bundleRelease.
- It will bundle the required JavaScript. This way you can publish your project in the Android APP Bundle format.
In case, if you want to make changes to the way the JS bundle, you can. However, I recommend you not to make any alterations to it. It will give you uncalled errors.
You can find this AAB file stored under the directory android/app/build/outputs/bundle/release/app-release.aab. Refer to image 3.
Image 2
Also, set the version information of your app. When you publish a new app, it is version 1. As you make changes in the app and update the same in the Google Play Store, the app’s version will increase. You can learn the steps and utilities of versioning apps from the linked site.
Ensure that your Keystore is safely stored. However, if it is lost, follow the guidelines mentioned on the attached site.
Setting up the variable in the app’s Gradle file
1. Copy the file my-upload-key.keystore from your local drive and paste the entire Keystore file into your project folder. Note that the path of storing the Keystore file is android/app.
2. Now add the below-mentioned codeline under the app’s
android/gradle.properties.
MYAPP_UPLOAD_STORE_FILE=my-upload-key.keystore
MYAPP_UPLOAD_KEY_ALIAS=my-key-alias
MYAPP_UPLOAD_STORE_PASSWORD=*****
MYAPP_UPLOAD_KEY_PASSWORD=*****
3. The ***** in the above syntax is where you have to add your Keystore password, key password, and alias. As it is confidential, I have not mentioned it in this blog. These are the Global variables and you have to use them in the Gradle configuration step.
Final step of the configuration
Here, you have to set up the release variant of your project by signing it with the upload key.
- You need to open the app and go to the directory: android/app/build.gradle from your code editor.
- Add the below-mentioned lines to the android/app/build.gradle.
1
2
3
4
5
6
7
8
9
10
11
12
13
14
15
16
17
18
19
20
21
22
...
android {
    ...
    defaultConfig { ... }
    signingConfigs {
        release {
            if (project.hasProperty('MYAPP_UPLOAD_STORE_FILE')) {
                storeFile file(MYAPP_UPLOAD_STORE_FILE)
                storePassword MYAPP_UPLOAD_STORE_PASSWORD
                keyAlias MYAPP_UPLOAD_KEY_ALIAS
                keyPassword MYAPP_UPLOAD_KEY_PASSWORD
            }
        }
    }
    buildTypes {
        release {
            ...
            signingConfig signingConfigs.release
        }
    }
}
...
This will take you forward toward the forward step of
Creating the AAB file for your app
As you are already familiar with the fact that we need to work on the AAB format rather than the APK format, we have to create the AAB variant of our app.
- Open a terminal from your project and run cd android.
- Then run ./gradlew bundleRelease.
- It will bundle the required JavaScript. This way you can publish your project in the Android APP Bundle format.
In case, if you want to make changes to the way the JS bundle, you can. However, I recommend you not to make any alterations to it. It will give you uncalled errors.
You can find this AAB file stored under the directory android/app/build/outputs/bundle/release/app-release.aab. Refer to image 3.
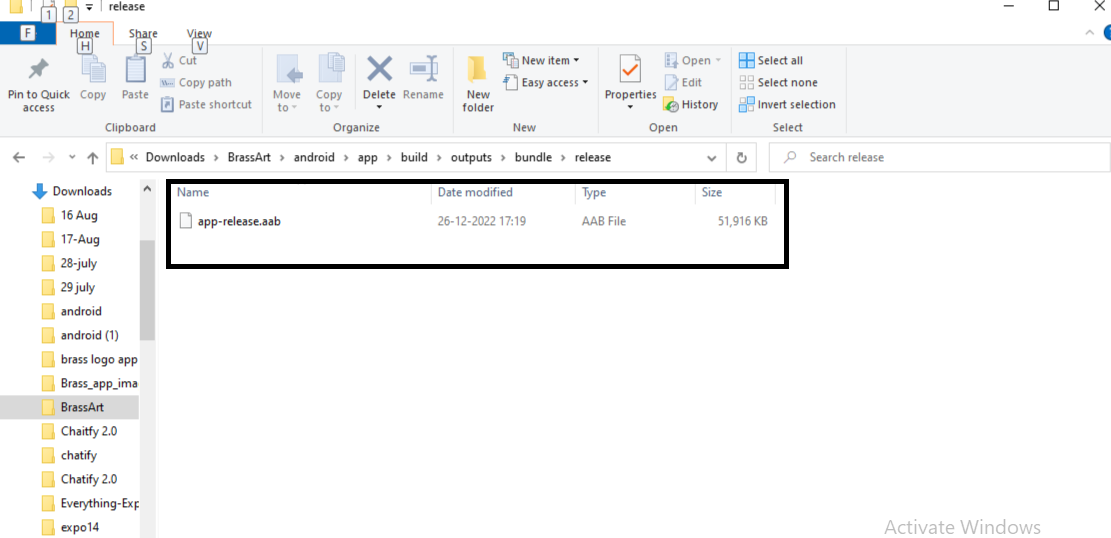
Image 3
Testing the app’s release variant
This step is mandatory before uploading the project to the Play store.
- Uninstall all the app’s versions if you have previously installed any.
- Install the release variant on your device. For this, run the command npx
react-native run-android --variant=releasein your project terminal. - This comprises a few steps; however you can use the --variant release only if you have followed my guided step during the signing config.
Now you can upload or publish your project to the Google Play Store.
Releasing your app to end-users
This is the main segment of this tutorial blog: steps to publish the project on the Google Store.
- Search for the Play console on the internet. You can also click on the attached link to go to the Google Play Console. Click on the blue button as shown in image 4.
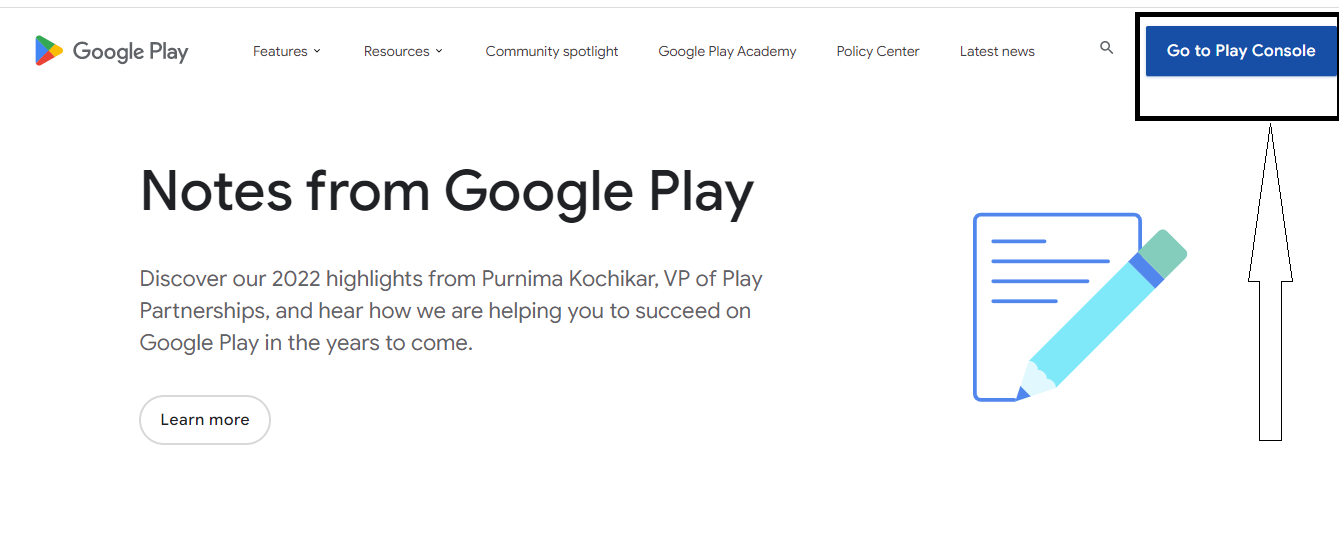
Image 4
2. Click on the ‘Get started’ option under the heading ‘An organisation’. Refer to image 5.
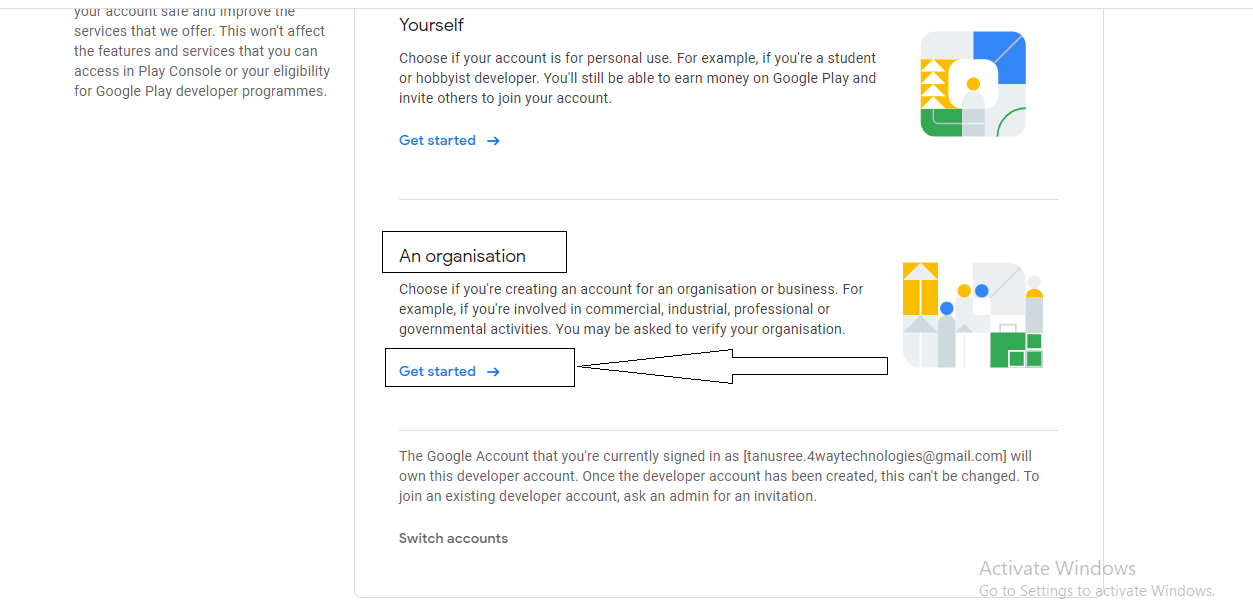
Image 5
3. Here, you have to create an account for your organisation. As I have already created the account, I don't have to make any.
4. If you already have the developer account, you can continue filling in your Organisation name, Organisation type, Organisation size, and all other information as it asks.
5. Click on ‘Next’ after you are done with adding all the information. Refer to image 6.
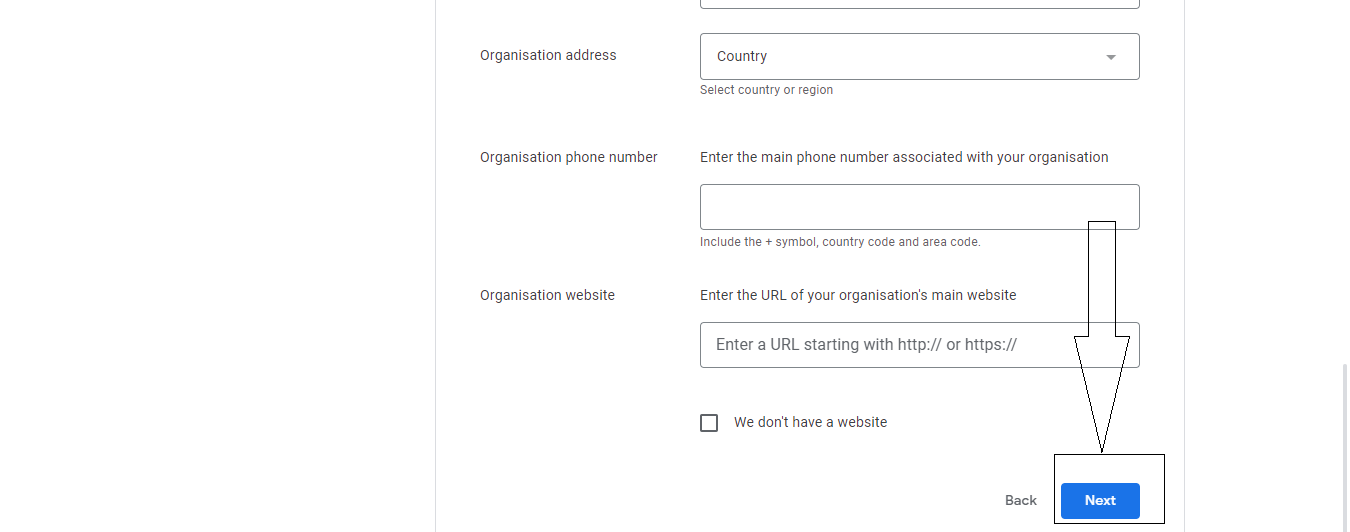
Image 6
6. Add your experience with Android and Play Console and click on ‘Next’.
7. As you are directed to the page ‘Developer account’, you have to fill in all the details and verify your email address and phone number.
8. You will see another page where you have to fill in the details of the apps that you want to publish, for example, a number of apps, Earning money on Google Play, and App categories.
9. Check all the checklists on the Terms and Conditions page. Move forward to clicking the button ‘Create an account and pay’. You will see a screen similar to image 7
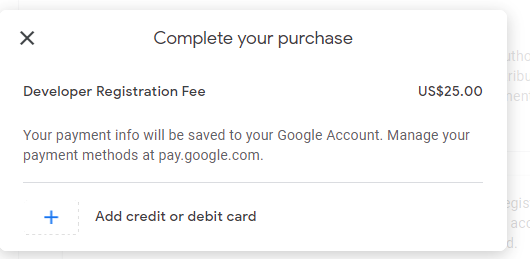
Image 7
10. Not paying this amount won’t allow you to take the steps further. Pay for the amount and follow the remaining steps.
11. Go to the ‘All apps’ section under the Play console page. You will see the details of your app on this page. Click on ‘Create app’. Refer to image 8.
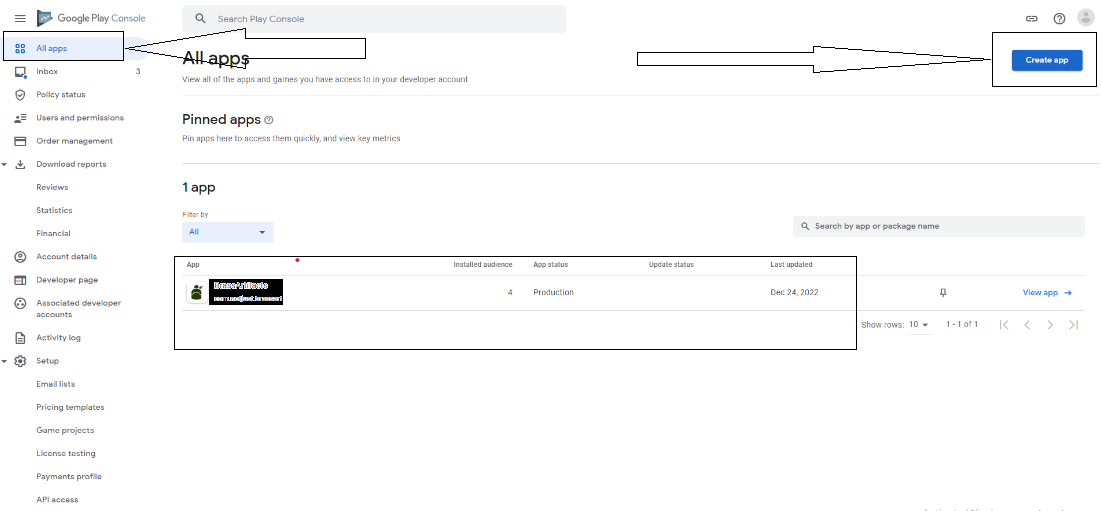
Image 8
12. As you go to the next page, you have to fill in some details about your app and check the Declarations box.
13. Now, go to the ‘Dashboard’ section and click on the ‘set up your app’ section. Refer to image 9.
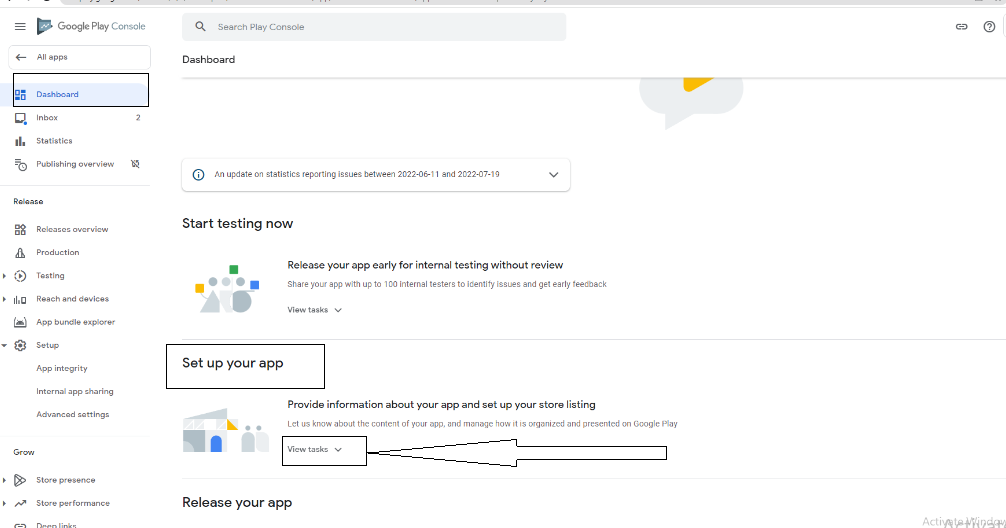
Image 9
14. You must complete all 13 steps of setting up your app’s store listing. Refer to image 10 for all 13 steps. As you complete each step, it will be crossed as shown in image 10.
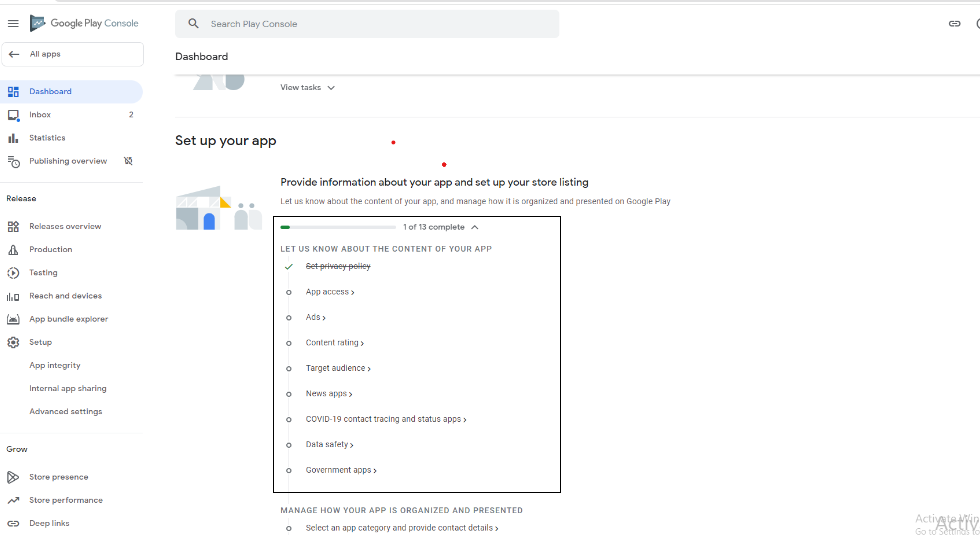
Image 10
15. If you are confused about what you need to fill in in the ‘Privacy Policy’ section, you need to add the URL of your app’s privacy policy.
After completing all 13 steps, your project will be ready for the next step, i,e., publishing or releasing the app to the Play Store.
This way, the entire process of app publishing is executed.
Final Notes
Pay heed to the two main steps when you are into publishing apps at the Google Play Store. This includes preparing a release build for your app and then releasing the project to the store from where your users can access the app.
Although it includes easy steps, you need to take the right approach.

A science graduate who has a keen interest to lean about new technologies and research area. With an experience in the field of data analytics and content writing, she aims to share her knowledge among passionate tech readers.

