How to Deploy a React Native App to the Expo App Store.
As per a 2021 survey by Statista, 38% of global software developers consider React native as the best cross-platform mobile app framework. Provided the high-quality performance that React Native has to offer, the framework is the potential enough to emerge as the future of app development technologies. In this article, we will cover the deployment of react native apps to the Expo App store.
Deploying apps to the app store is nothing but publishing the same in the app store. This allows you to list the app in the dashboard of the app store. To develop app with react native development company may be a complicated task but not knowing how to deploy it won’t make it accessible.
Here, in this article, we are going to show a step-wise process of how you can deploy an RN app to the Expo App store.
What is the Expo App store? Expo app store is a type of store similar to the Apple store and Google Play store where you can publish your app. Since it is supported by Expo, you can easily deploy the React Native application built with Expo in the Expo app store.
Key terms
Later in this article, you will come across some jargon that you may not be aware of. Here are the lists and definitions.
- Name- It is located in the asset directory of the project, which is referred to as the name of the built application.
- Slug- It is also found in the asset directory of the created project or app. It is the name used for the created app in the app URL.
- App icon- It is the logo or icon of the app that people notice.
- Splash screen- It is referred to as the loading screen that is displayed when users open the app.
Let's walk through the steps of deploying React Native apps.
Step 1: Creating an expo account
- Firstly, search for expo.dev/signup in your browser and signup to the Expo account. You will be launched on a page like the one attached below. If you already have an account, just log into the same.

Step 2: Prerequisite setup
- Before starting with the further steps, you should build an expo app. Check the tutorial blog which gives step-by-step guidance on building an expo app.
- Open app.js on the Visual Studio Code which is the root directory of your app.
- Here, I have opened my-project that I have built with the Expo tool. It is a test app that does not have anything other than the welcome text that says “Welcome to 4 Way Technologies”. Please refer to the Image 1 given below.

Image 1
- Go to the app.json file. Here you need to make some changes in the “name” and “slug” sections. As you can see from Image 2, it has considered the default “name” and “slug” as my-project in both sections. I will change the “name” to “Innovative App” and “slug” to “Innovative-app”.
Please note the “-” between each word of the app name is mandatory when you are changing the slug.
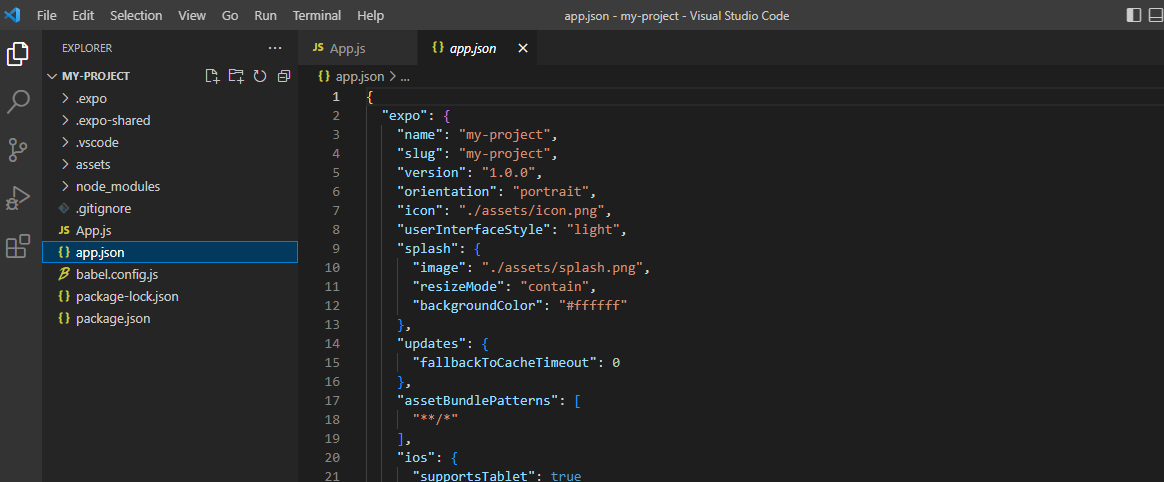
Image 2
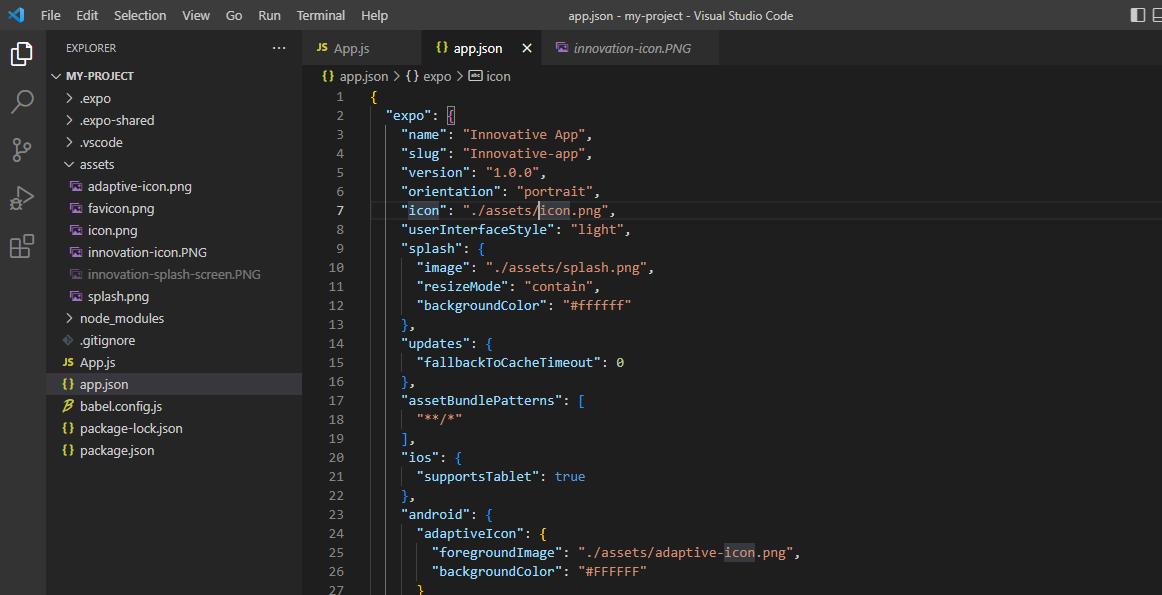
Image 3
- Go to the assets directory and you will notice “icon.png” as the default app icon and “splash.png” as the default splash image. You can add different images to substitute this default display on your app screen. These are the images that people will see when they will open the app.
- I have added two different images named ‘innovation-icon’ and ‘innovation-splash-screen’ under the asset directory. Refer to Image 4. It will also be visible in the root directory of the project as shown in image 5.
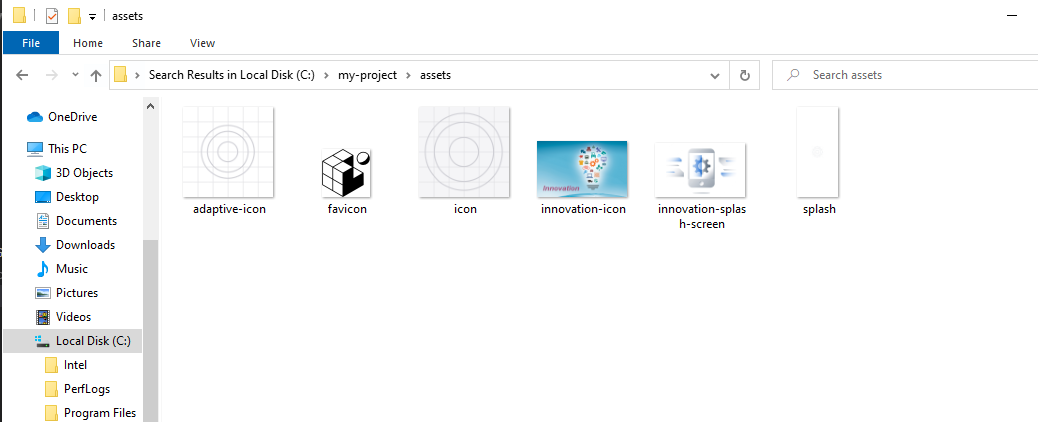
Image 4
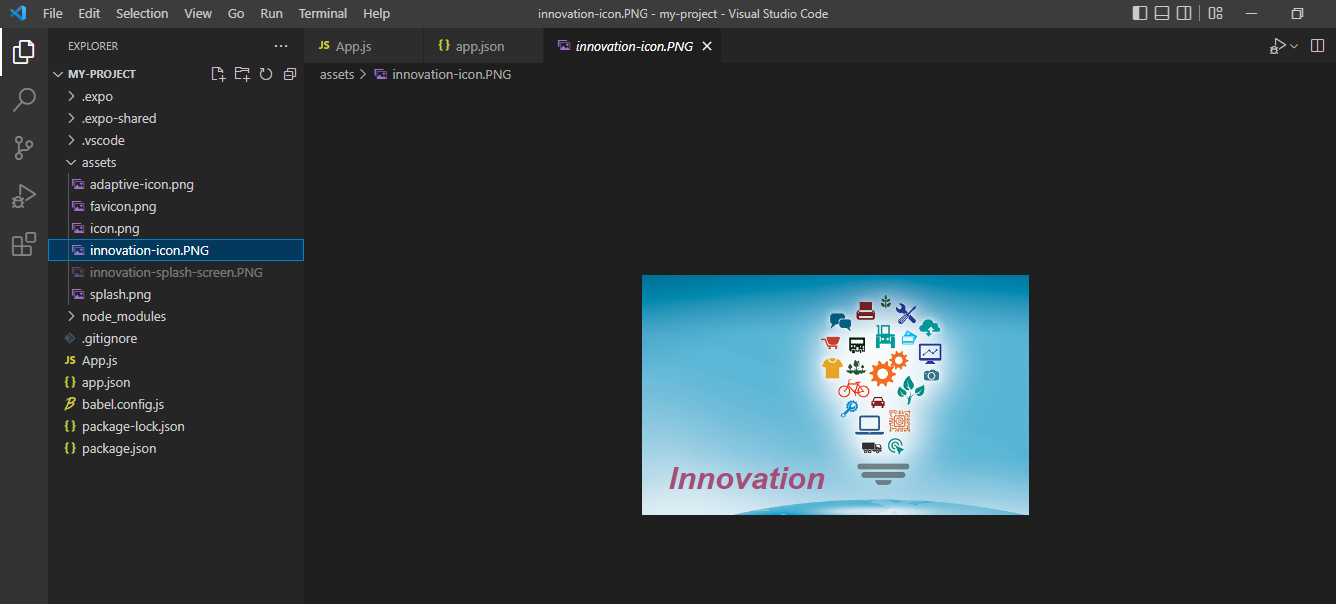
Image 5
- Change the app icon and splash image from the app.json file by only substituting the default images with the new images. Refer to image 6.
- You also have to change the name from the icon and splash image on the right side. Here, I have substituted the icon name as
“./assets/innovation-icon.png”and Splash image as“./assets/innovation-splash-screen.png”. Refer to image 6. - Just change the name similar to the name with which you have saved the app icon and splash screen. Please note, that you have to use a square-sized image for the app icon. Delete the default images from the asset directory by simply right-clicking on the delete option. Also, don’t forget to save (ctrl+s) as you proceed with these modifications.
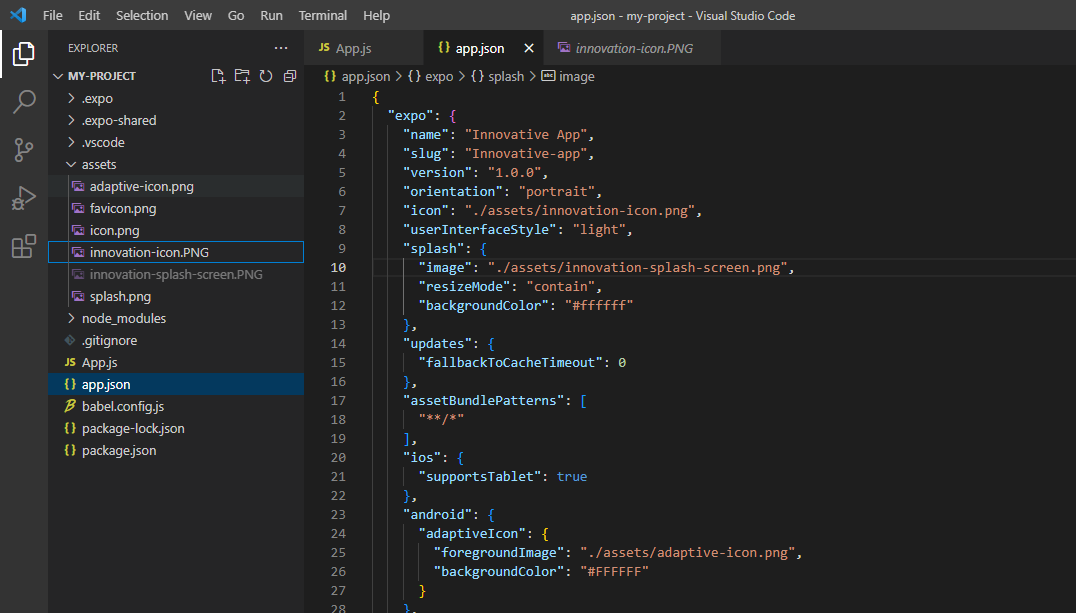
Image 6
You can also add some descriptions for the app. Here, I have added “4 Way Technologies is all about innovation” as the app description displayed in image 7.

Image 7
You are successfully done with the changes. Now the main task of app deployment or app publishing to the Expo Store begins.
Don’t fret. This just requires running certain commands in the command prompt. So, let’s begin with the steps.
Step 3: ‘Innovative App’ deployment
- First, you have to make sure that
expo-cliis installed in your system. If it is not installed, you have to run the command prompt as administrator and passnpm install -g expo-cli.Wait for some time and the expo-cli will be installed globally in your system. If you have already installed it, you can skip this phase and move forward to the following bullets. - Log in to your expo account. Again run the command prompt as administrator and pass
expo loginin it. Provide your email address and password as shown in image 8 and hit enter. Congratulations you have successfully logged into your expo account.

- Now you are at the last step where you have to open the command prompt from your project (here, my-project) folder. Pass
expo publishand wait for some time. You will be shown a message “Publish complete” on your cmd screen. Refer to Image 9.

Image 9
Step 4: Cross checking
- This is not an app deployment step but just a step to cross-check whether the app has been published or not.
- Go to your Expo account. You will see your app showing on the left side of the expo home screen. As shown in Image 10, the Innovative app has been published in the expo store.

Image 10
- Click on your app and you will be directed to its ‘Overview’ page. For my project, I was shown some general information about my ‘Innovative app’.
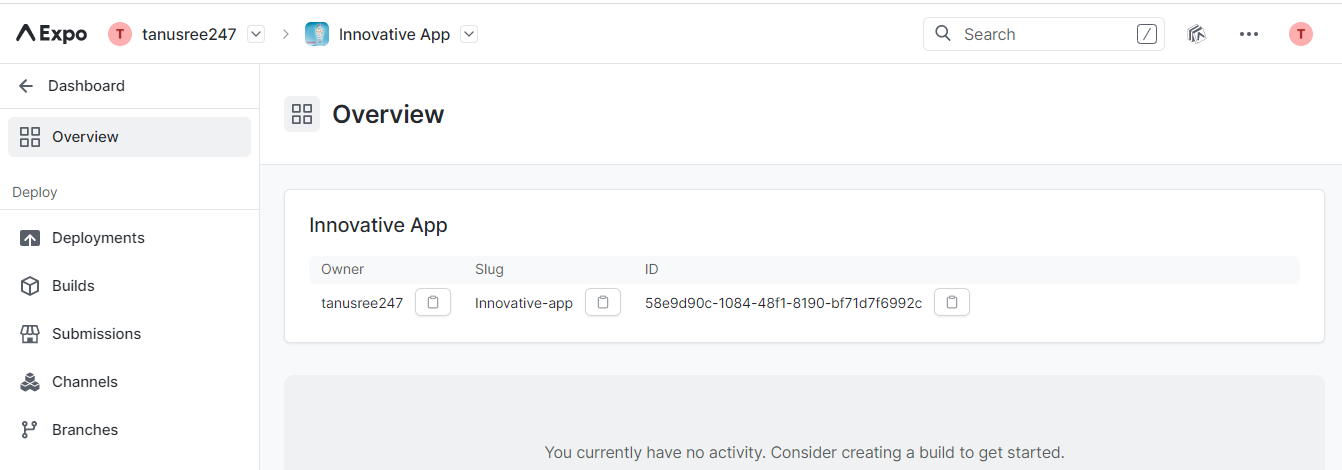
Image 11
- If you want to show the app on your profile. Go to settings and change the default “Unlisted” to “Public”.
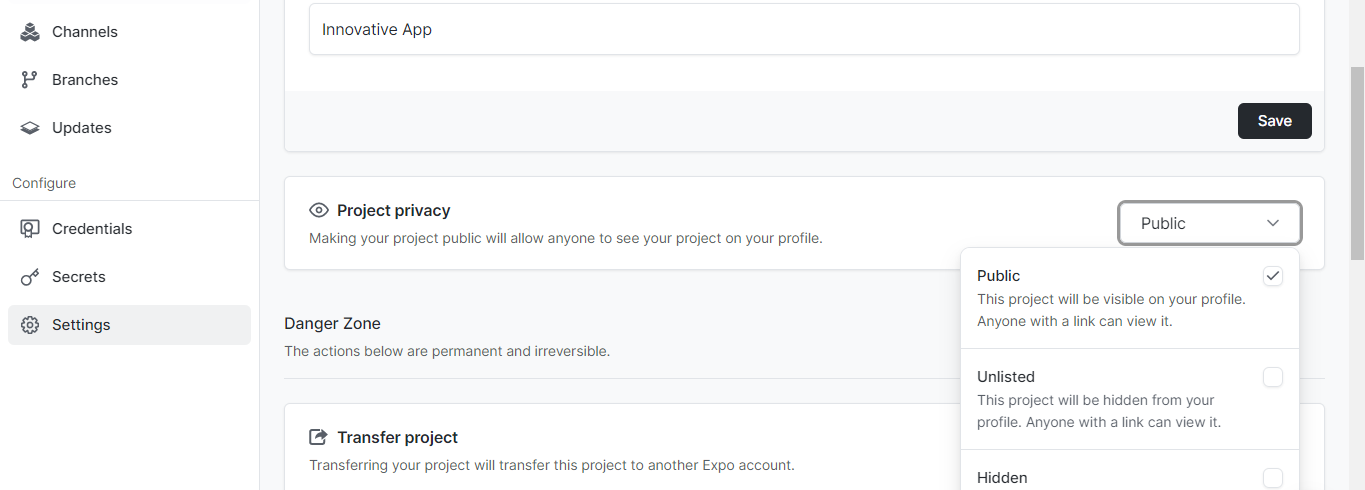
Image 12
- Go to your name icon and select ‘Profile’ (Image 13). Here you will see all the apps that you have published so far. Since I have published one app ‘Innovative app’, it is showing the same (Image 14).

Image 13
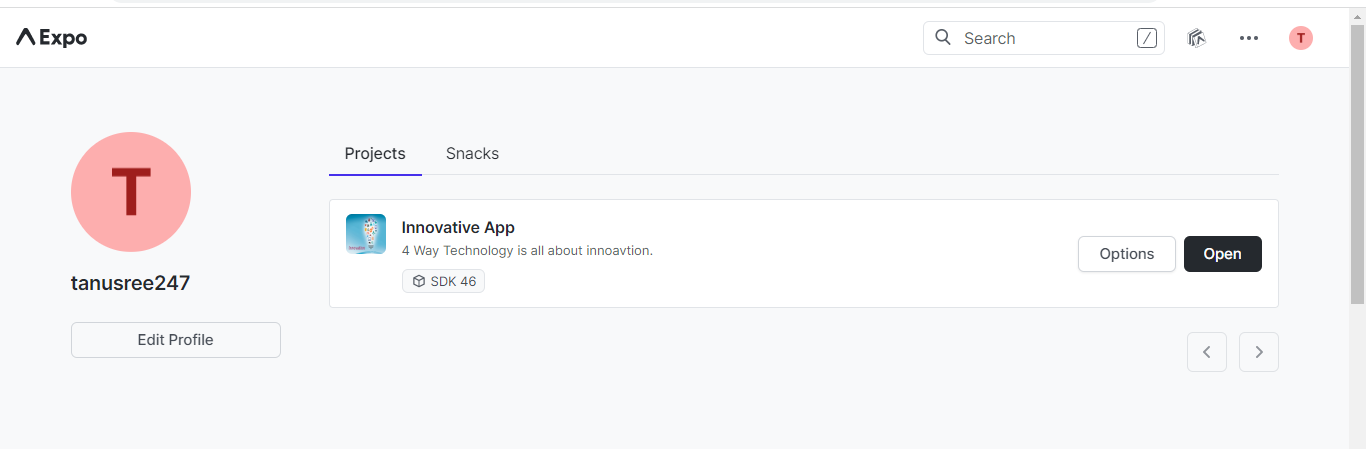
Image 14
- You can scan the QR code and run the application on the Expo Go app installed on your phone.
Congratulations! You have successfully deployed the app in the Expo App store.
Conclusion
After building an app, it is necessary to deploy it in the app store. It will allow users to interact with your app. Although it is an easy few-step process, it should not be overlooked. The prime task is to develop an app with Expo CLI. After that, it hardly needs any effort. If you are done building a react native app with expo, follow the deployment steps to complete the entire process.

A science graduate who has a keen interest to lean about new technologies and research area. With an experience in the field of data analytics and content writing, she aims to share her knowledge among passionate tech readers.

