How to create a Floating Action Button in React Native

Creating a floating action button in React Native is easier compared to building the button using traditional native mobile app development frameworks. This is because, with React Native, you can access a set of pre-built UI components or third-party components such as a FloatingButton component. You can easily customize these components and use them in your app. In this blog article, we will learn to create a Floating Action Button in React Native and use a third-party plugin to make the process much simpler.
What is a Floating Action Button (FAB)?
A floating action button (FAB) is a type of UI element that is commonly used in mobile applications and websites. It is a circular button that seems to "float" above the rest of the user interface. Usually, you can notice this FAB in the bottom right-hand corner of the app screen. However, you can place it in other parts of the screen.
FAB typically represents the primary action that an app user can take on a particular screen or view, like sharing content through social media platforms, sending a message, or initiating a call. They are designed to be easily accessible and noticeable. Their placement in view should be in such a way that they do not interfere with other UI elements or content.
FABs can be customized with different colors, icons, and animations to match the style and branding of the application or website. They are a popular UI-based choice because they provide a simple and intuitive way for users to interact with the app and perform key actions.
Let’s move ahead to the prior-needed tasks.
What are the pre-requisite criteria?
Before starting with the coding part, you have to complete the three tasks mentioned below. Let’s get a brief insight into the tasks.
Set up the environment for React Native framework
Environment setup is necessary and it is based on the OS and the React Native tool you choose. Here, I am proceeding with Windows as the development OS and Android as the target OS.
Also, I will be going for Expo Go Quickstart rather than the React Native CLI Quickstart. With Expo Go, developers of React Native development company can easily build your React Native project without downloading any heavy software. However, you will need an IDE (VS Code editor). You may run the program in your dev system or on your Android or iOS phone device. In case, you need certain software or app. In case, you want to run your program in the dev system you are developing the project. You need Android studio. On the other hand, if you want to run the program on your real device, you have to download the app Expo Go.
Check the linked article for further details.
Build a template for the project
Since you are using Expo CLI, you need to build a template where you will add the codebase and build the Floating action button.
Consider a file in your local system or you can build one in your system. Let’s make a folder in your C drive and name it ‘Expo_React_project’. Now, run cmd from this folder.
Pass the following command on the cmd.
1
2
3
4
npx create-expo-app Fab

cd Fab
npx expo start
Wait for some moment until your development server starts in your dev system. Your simple Expo project will be built with the name ‘Fab’ in the folder ‘Expo_React_project’.
Get the third-party plugin
For this project, you have to install ‘react-native-social-fab’. It is a third-party library from which you can get a floating action button component for your React Native project.
To install the plugin and link to your project, create a terminal and run the below-given command on the terminal.
npm i react-native-social-fab
Basic usage of this third-party library includes importing the FloatingButton component from ‘react-native-social-fab’. This way, you can save time and effort in the development process. You can also leverage the work of others and focus on building the unique aspects of your application. Additionally, third-party components like FloatingButton are often well-tested and reliable, which can improve the stability and performance of your application.
Designing the codebase for the project
For the source code of the project, check the linked GitHub repository.
Go to the App.js file of your project and start coding. Let’s fragment the entire codebase into smaller sections.
1
2
3
import { StatusBar } from 'expo-status-bar';
import { StyleSheet, Text, View ,Linking} from 'react-native';
import FloatingButton from "react-native-social-fab";
First, import the components from the relevant libraries. The code imports StatusBar from 'expo-status-bar'; View, Linking, Text, and StyleSheet from ‘react-native’ library and lastly FloatingButton from "react-native-social-fab".
1
2
3
4
5
6
7
8
9
10
11
12
export default function App() {
  return (
    <View style={styles.container}>
    <FloatingButton
    onPressFacebook= { () => Linking.openURL('https://www.facebook.com/login/')}
    onPressTwitter= { () => Linking.openURL('https://twitter.com/i/flow/login')}
    onPressInstagram= { () => Linking.openURL('https://www.instagram.com/accounts/login/')}

  />
    </View>
  );
}
The export default statement in the first line is used to export a default value from a module. In the present case, the code defines a function called App() and exports it as the default value of the module.
The purpose of the code segment from the ‘return’ statement returns the JSX elements. This element will be rendered in the UI of the app. It renders a ‘View’ component with some styling (styles.container; it will be defined later in the stylesheet part).
A ‘FloatingButton’ component is used with three props namely onPressInstagram, onPressTwitter, and onPressFacebook. Each prop is assigned a function that will be executed when the user clicks the corresponding button. These functions are about directing the user to the corresponding social media accounts.
Also, the Linking component is used with each prop to open the corresponding URL when the user clicks on the buttons.
1
2
3
4
5
6
7
8
const styles = StyleSheet.create({
  container: {
    flex: 1,
    backgroundColor: '#fff',
    alignItems: 'center',
    justifyContent: 'center',
  },
});
This is the Stylesheet segment where the code defines the pair of property-value assigned to the stylesheet object container.
We have completed creating the code for the project.
Executing the codebase
Open a new terminal from your project ’Fab’ and run npm install. Then pass npm start on the same terminal.
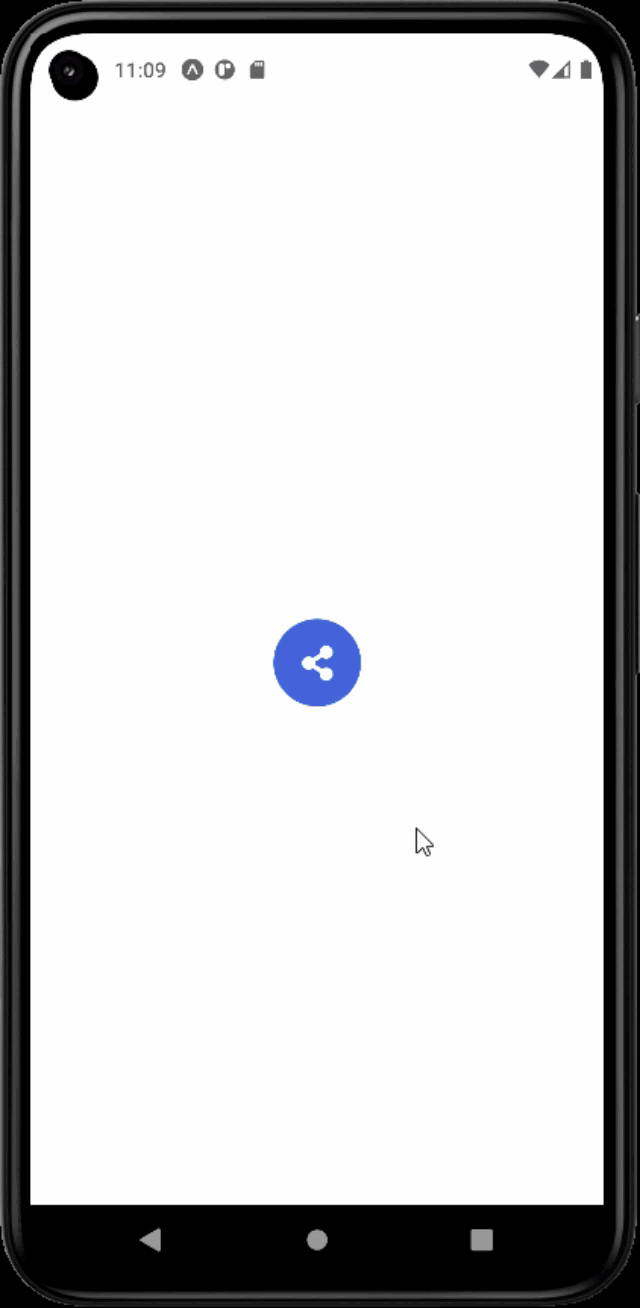
It will activate your project and it will start running on your dev system. Refer to image 1 for the output.

Image 1
As you can see, there is a floating action button in the middle of the screen, clicking which opens three social media icons. Users can click on these three icons to go to the respective social media pages.
Summary
Creating a Floating action button is one of the easiest projects that you can try. Its only needs to get started with the simple React Native tool, Expo CLI, and install the third-party library. So, try today and explore what additional features you can add to your Floating action button.

A science graduate who has a keen interest to lean about new technologies and research area. With an experience in the field of data analytics and content writing, she aims to share her knowledge among passionate tech readers.