How to add animation in React Native app?

When the context is about creating an app interface with some pattern of motions added to it, you must consider the Animated API of React Native. This cross-platform app development framework has different components which can be used to add different functionalities to an app. In this blog, we will learn about adding animations in a React Native app. Also, you will get the complete codebase in this blog.
Why do you need to create an animation in your app?
For a great UX, animations are required. As they start moving, stationary objects overcome the state of inertia. If you are familiar with the concept of momentum in physics, you may know that in motion, objects do have momentum and they don't immediately come to rest, or, in other words, their momentum cannot be brought immediately to zero. Similarly, in React Native, using the Animated API will let you create an interface that seems to be in motion with some momentum added to it.
Brief about the Animated Library
The Animated Library, in React Native, is created in a manner to build powerful, easier, and smooth animations. This is the same as that of the Animated API, which is framed to render interesting and consistent patterns of animations.
React Native developers don't have to create a separate codebase for the different animated components. Rather you can take the components and props from the Animated Library.
This makes the development task much easier for mobile developer React Native framework is thus the proper choice for cross-platform app development.
As far as the main focus of the Animated is concerned, it is on establishing declarative connections between inputs-outputs, with supporting customizable transformations and start-stop methods for proper time-based execution of the animation.
The use of the Animated Library or the Animated API
While using Animated, you can use six different component types namely Text, Image, SectionList, FlatList, ScrollView, and View. Apart from these components, you can design your unique animatable component types. For this, you need to use Animated.createAnimatedComponent().
Use of Animated.ValueXY in the current project
Note, that the main task for building an animation view is to design an Animated.Value and then link some styling attributes to it. However, in this current project, you have to use Animated.ValueXY().
Animated.ValueXY is a special type of Animated.Value (a class that represents a single animated value) in React Native that can hold both an x and y value. It is often used for animating position and layout changes in a 2D space.
You may be thinking of the difference between Animated.Value and Animated.ValueXY. Let me explain to you in brief. Both the Value and ValueXY properties are used to present animations in which Value is associated with standard animations whereas ValueXY is associated with 2D animations. Also, if you want to classify Value and ValueXY based on their value class, Value comes under the standard category while ValueXY falls under the 2D category.
Animation Configuration: Animated.spring()
Configuring animations is all about choosing a specific kind of animation for your project. In this regard, there are three types namely Animated.decay(), Animated.spring() and Animated.timing(). Each kind of animation offers a certain animation pattern that decides how the value changes from its base value to the ending value.
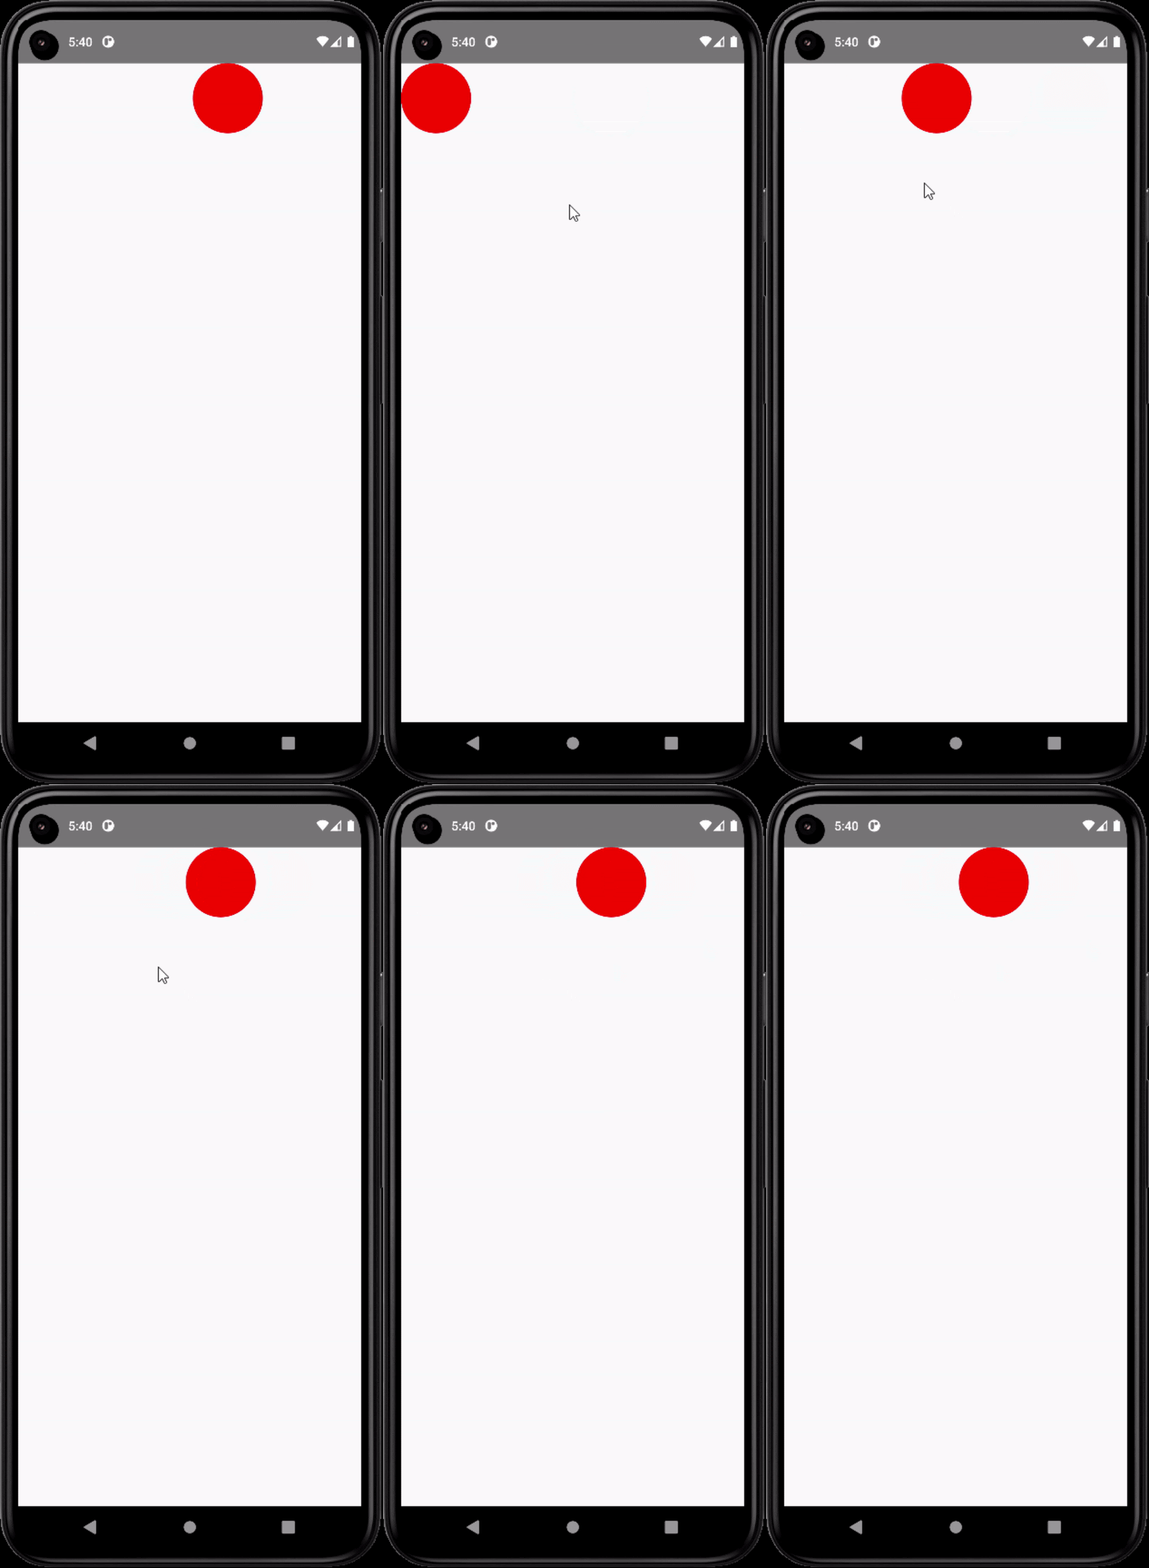
Here, in our project, we will be using Animated.spring(), to create a simple spring animation. It particularly renders an oscillatory animation using the concept of damped harmonic oscillation.
Refer to image 1 for an animated view based on Animated.spring() method.

Image 1
With this animation method and the associated toValue properties, you can keep track of the velocity state and build up fluid motions in your app interface. Some of the configuration options that are used with this Animated.Spring is as follows.
- useNativeDriver: If it is set to true, the built program will incorporate the native driver. The native driver allows for smoother and faster animations by offloading animation tasks to the native thread instead of the JavaScript thread. This can improve the performance of the animations and make them look more natural.
- Bounciness: It regulates the bounciness of the motion. Its default value is 8.
- Delay: It is defined in milliseconds. The default value is 0. This parameter is used to delay the start of the animation after the specified value. If it is 0, the animation starts immediately without any delay.
Note that there are other configuration options, which may not be needed for this project but you can definitely get familiar with all of those from the official documentation site of React Native.
Now, we will discuss the prerequisites criteria before starting with the codebase.
What are the prior-needed tasks to complete?
- The first task is to get the environment for the framework. In this step, you have to install software such as Node.js, Android Studio, and the VS Code Editor.
If you are stuck in this step, follow the process mentioned in the attached blog and set up the environment.
- The second and last task that you have to complete prior to starting the codebase is to build a template.
I can guide you through the simple steps to complete this task. If you are a beginner, consider the following steps.
- Create a new folder in your C drive. Open the folder and run the cmd.
- Now, you have to pass the command
npx react-native init Animation --version 0.68.1in the cmd terminal. Your template will be built in the nameAnimationin the folder on your C drive.
Now that you have built the template, let's understand the codebase for the project we want to build. However, you can find the entire project in the attached GitHub repository.
Designing the codebase for the Animation
1
2
import { StyleSheet, Text, View,Animated} from 'react-native'
import React,{useEffect,} from 'react'
This code imports RN components: StyleSheet, Text, View, and Animated.
React is also imported along with the useEffect hook.
StyleSheet is used to build unique styles for components.
Text is used to add text on the app screen.
View is considered to make containers for components.
The most crucial component, which is the Animated, is imported to create animations.
1
2
3
4
5
6
7
8
9
10
11
const App = () => {
  const position=new Animated.ValueXY({x:0,y:0})
 useEffect(()=>{
  Animated.spring(position,{
    toValue:{x:200,y:300},
delay:2000,
bounciness:50,
    useNativeDriver:true,

  }).start()
},[])
This code creates an animated view using the Animated library from React Native.
In the first line, it creates a constant called App. The App is the function that uses the React hook useEffect. The useEffect hook is then used to animate the position value with a spring animation.
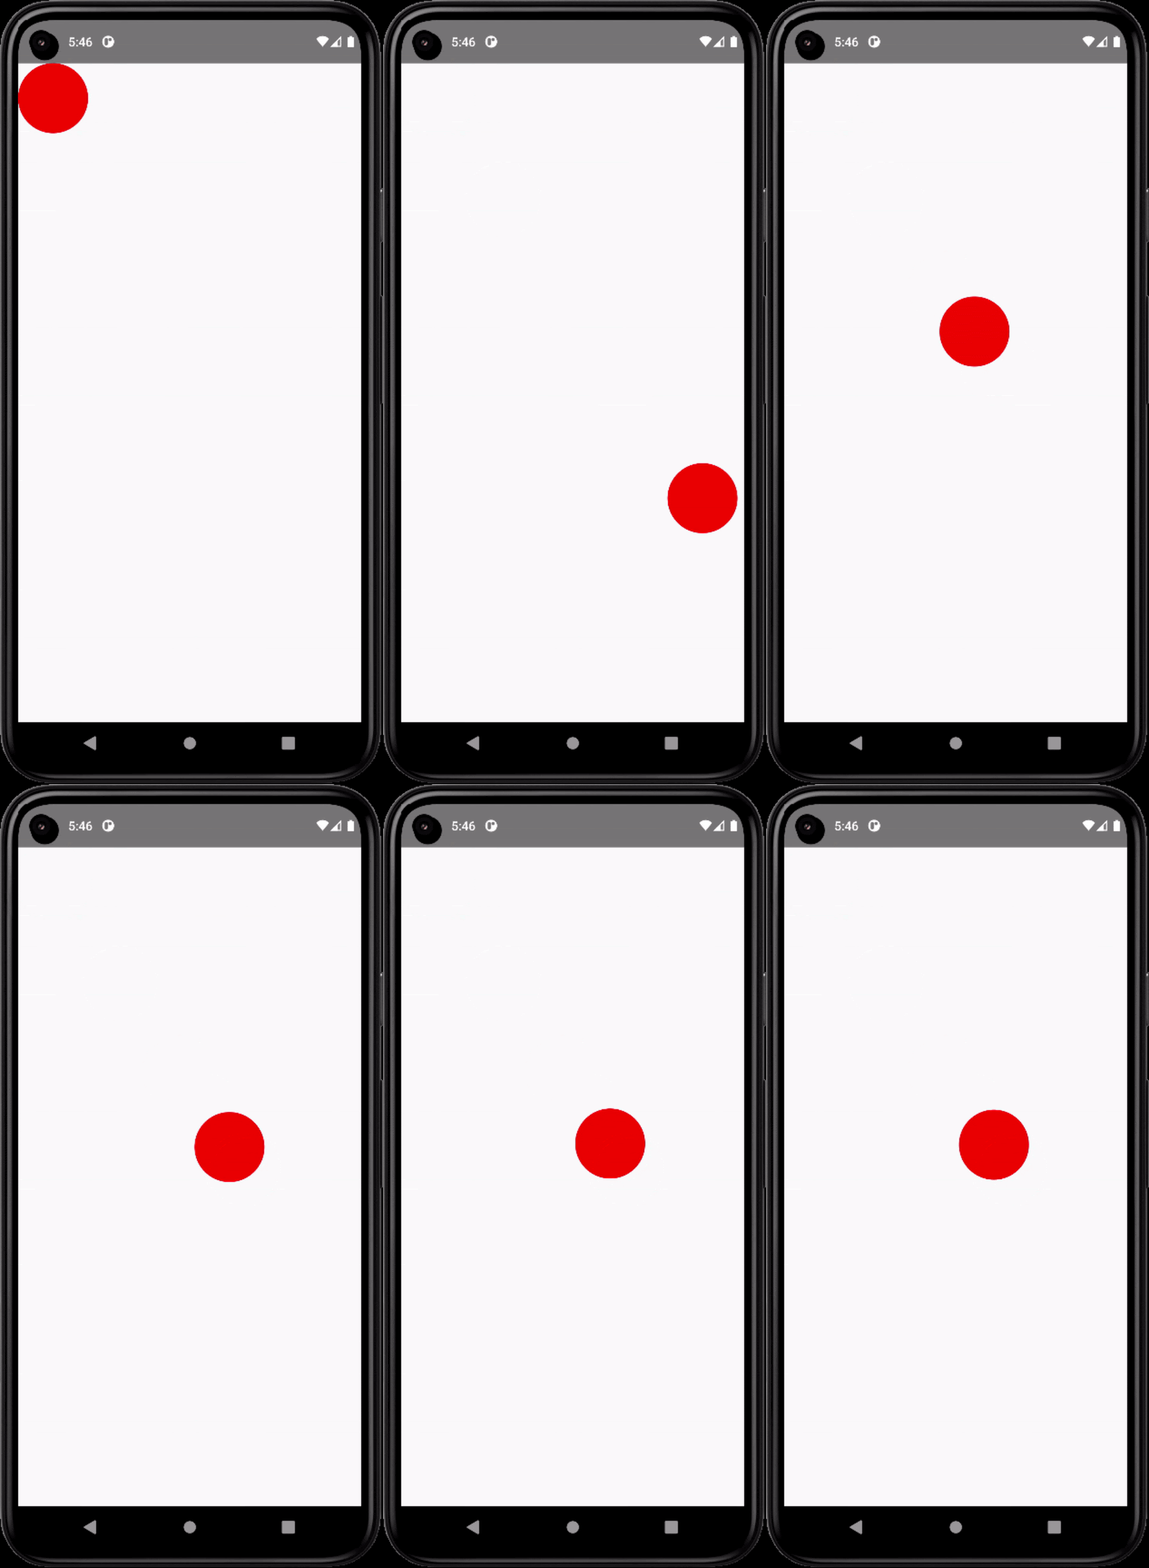
The position of the view is set to (0,0) and then an effect is used to animate the view to (200,300) over a period of 2 seconds with a bounciness of 50.
The useNativeDriver is set to true so that the animation is handled by the native driver and not by the JavaScript thread.
Finally, the view is rendered with the position from the Animated.ValueXY object.
1
2
3
4
5
6
7
8
9
10
11
12
 return (
    <View style={{}}>
      <Animated.View style={{width:80,
        height:80,
        borderRadius:50,
        backgroundColor:'red',
        transform:[{translateX:position.x},{translateY:position.y}]}} >

    </Animated.View>
    </View>
  )
}
The View component mentioned in this code syntax is being rendered with a style of an empty object.
Inside the View component, an Animated.View component is being rendered with a width of 80, a height of 80, a border radius of 50, and a background color of red.
It also has a transform property that uses the position.x and position.y values to translate the view. The transform property is used in CSS to move an element on the page.
1
2
3
export default App
const styles = StyleSheet.create({
  })
Lastly, you need to export the constant App so that it can be accessed from other files.
const styles = StyleSheet.create shows the process in which you can use the Stylesheet and design the styling objects further.
To execute the program on a device
You can run the program on any device (a real android device or a virtual device). Here, I will explain to you the steps of running the program on a virtual device or an emulator.
Follow the guided steps.
- Open the command prompt from your system and type
cd Animation. Typing cd on your command prompt along with a file name on your system allows you to enter that particular file or folder. - Note that if you saved your project template with some other name, you have to add that name after cd.
- Now type
npm installand thennpx react-native run-android. You have to pass these two commands one after another. - Your emulator will show up on your system and the app will run.
Refer to image 2 for the animated view (spring) in my React Native app.

Image 2
Conclusion
If you are on the journey of mobile app development, selecting the correct framework is the most important decision. On this note, React Native framework can be one of the best choices. It is because of its extended scalability. You can add different functionalities by just adding React Native components to the codebase. This current project can be the best example. I have not written hundreds of coding lines. With the correct approach, you can create this interesting animated view for your app.

A science graduate who has a keen interest to lean about new technologies and research area. With an experience in the field of data analytics and content writing, she aims to share her knowledge among passionate tech readers.